John the Giant

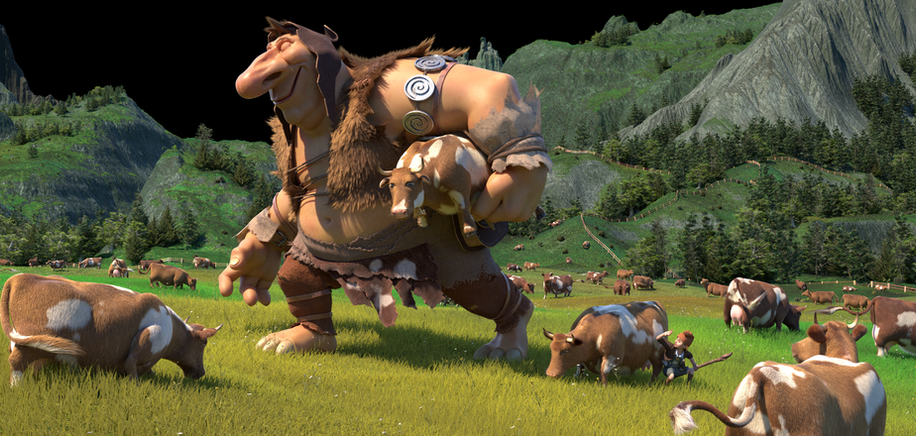
When I first saw Mike Azevedo's original artwork on Artstation I knew I wanted to turn it into a 3D piece. Not only it was going to be challenging, but I would be able to learn a ton and expand my experience on characters, environment, and grooming.
Compositing breakdown
Giant
The first step in my process was to build the giant.
After sculpting the character in ZBrush I brought the mesh into Mari to create its shader maps.

In Mari, I projected painted skin displacement using a variety of Texturing.xyz maps. Then, I used a combination of those and mesh maps generated in Substance Painter from the high poly character, to procedurally create the Albedo for the skin with a few painted corrections.
Finally, I masked out different zones of the body and the face (such as the lips, the eyelids, cheeks, etc...), to control their roughness value separately.
Cows and kid
Then I got to focus on the cows for which I used substance painter to texture, xGen for the fur, and Mari for the grooming masks.
Concerning the kid, I used the same base model I had created for Bicycle Dream and sculpted on top of it to make it more stylized and fitting to the piece. This allowed me to save time on the skin shader and focus my efforts on the clothes done in Marvelous Designer.

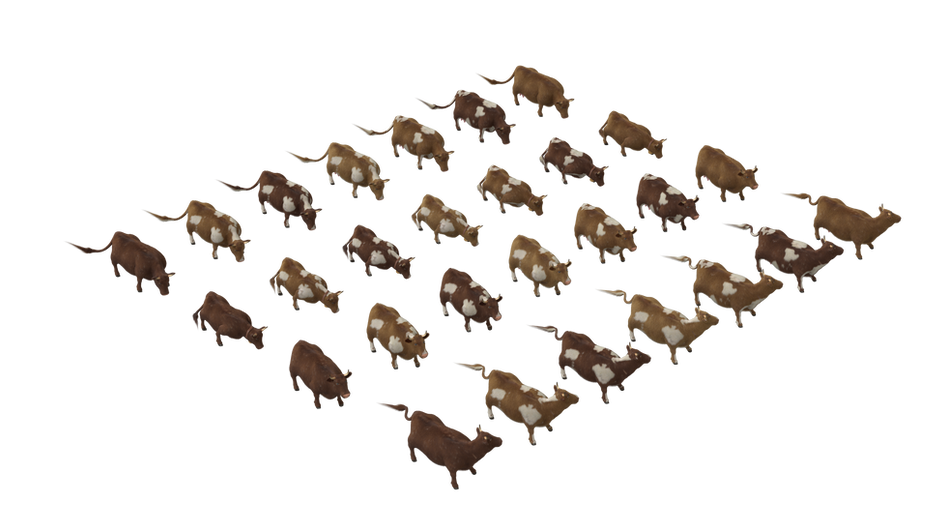
To optimize my scene and still get variation within the cows, I ended up rigging the original mesh and creating the xGen collections on top of it. That allowed me to get the 4 "Hero" cows in the foreground, and then add some other positions for the scatter.
Within substance, using a combination of noise I generated multiple patterns to assign to each position as well as 3 different color variations. All of which allowed me to create 28 unique variations of the cow and only using each of them no more than two times.


